Sunday, 22 August 2010

Getting back into it

We had to have a break as this renovation lark can get a bit heavy sometimes, so last weekend we ran away up north to the shores of Lake Taupo. Unfortunately the rain followed us so we couldn't do any skiing, but we did plenty of relaxing and thinking about what we'd like the house to look like. We got out the coloured pencils and did some 'artist's impressions'.

Artist's impression of the view into 11 Howard Street. Note beautiful handmade hall table to the right and handpainted cabbage tree on rear hall wall
Artist's impression of stained glass windows at 11 Howard Street

But this weekend we got back into it with a vengeance. I went and bought a spade and cleared the back yard of all the squelchy moss that has built up as a result of the neighbour's tree diverting heavy rain from the gutter to our backvyard. At the same time I kept an eye on the sunshine, we're now getting sun in the back so we're making a record of what gets sunshine so we can work out where to build the deck.  The present location of the compost heap (go figure!) is looking like the best bet.
We reckon we'll get about 8 months of sun in the back yard - we've just endured the 4 months of gloom.

Celebration time at no 11 as the socks get some sunshine
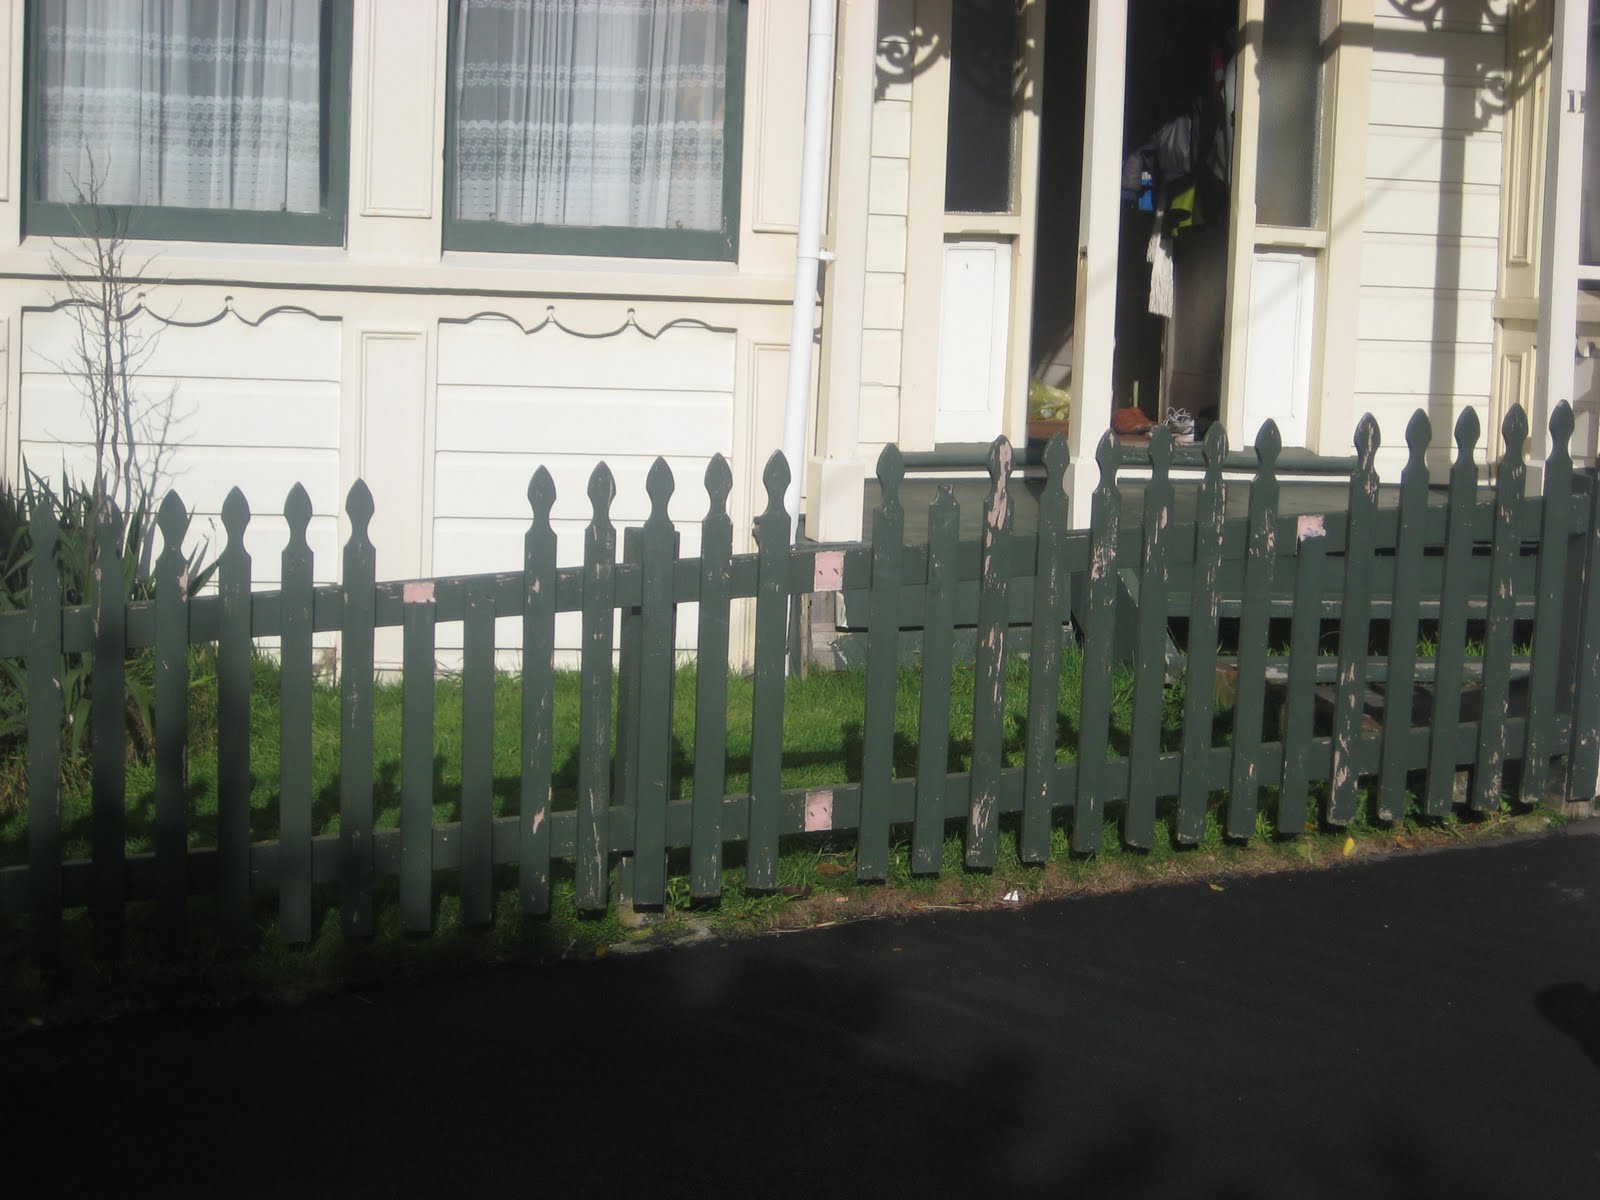
We replaced a bit of the porch, can you spot the difference?


Well, ok, it is the cross beam on the left. I machined a bit of 2 by 4 in my woodwork class, then we drilled some holes in it so we could nail it into the main struts on the porch, then we filled the holes, then we painted it (after matching the existing colour and buying similar paint). We reckon it adds 5k onto the house value ; )

Speaking of which, Jo continued her 'what the buyers will see first' project and sanded down the flaking fence posts ready for re-painting and made our gates close by screwing in the hinges.

We went and bought some underfloor insulation and started with the worst corner which Jo described as a coffin to wriggle into to try to fit the polystyrene tiles. Technically we can now take up some of the carpet above to see what the floorboards look like underneath. (we've been waiting for either summer or the insulation before taking up the disreputable threadbare brown shagpile carpet).  We're hoping for some lovely rimu floorboards ready for sanding.... fingers crossed.

Next up - curtains, fences, and furniture...

Sunday, 25 July 2010

Fences and tradesmen

With Steve locked in the basement sanding his bookshelf it's left to me to give another update. We've been trying to get a few bits of work done but are having a lot of trouble getting tradesmen to even answer the phone. You'd never guess there was a recession on. We managed to get an electrician and builder in to give us quotes for bits of work, but our most urgent need, window maintenance, we haven't had any joy with. At least we're not having to pay for it yet I suppose.

Meanwhile I've been fixing the fence at the front of the house. There were several broken or missing fence palings (think that's the right word). It's not that difficult to fix fences but it took ages to track down where to find the replacements from, get the right style, buy primer, wait for primer to dry, get matching paint, do two coats of paint, find the right nails and then wait for a dry day to actually effect the repair...


Apparently having a neat and tidy front of the property raises its resale value. Not that we're planning to do that in the near future but it's certainly more regular, but now it's obvious that the whole front fence needs repainting! That means sanding before I even get to the repainting stage. It's never simple...


Til next time.
Jo

Monday, 5 July 2010

Getting slap happy

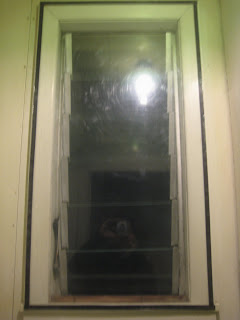
I promised the double glazing and here it is over the louvred toilet window which lets the southerlies blow through and actually lets rain in too! Not any more. The room is noticeably warmer. Just seen you can see me in the photo...! ha ha.


It's Steve's very own invention, well - almost - it's a kind of stolen idea. Commercial companies do the same thing, create custom-made removable magnetic panels and attach them to existing windows - but for about $150 per pane. Steve's home-made version costs about $30 per pane, most of the cost being the adhesive magnetic tape. He's only used cheap thin perspex but you probably could scale it up to use a thicker kind of material which would be more transparent.


It works very well on conventional windows but on a lot of them you can't get a panel to fit (e.g. on sash windows) because there are locks etc. in the way. But it's a big improvement, plus you can remove them in the summer....
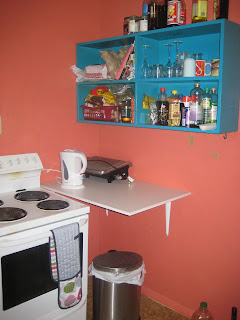
For some reason on our trip round Bunnings to buy a new shelf to put up in the kitchen (we were too short of worktop space so I thought I'd create a bit more next to the cooker)...
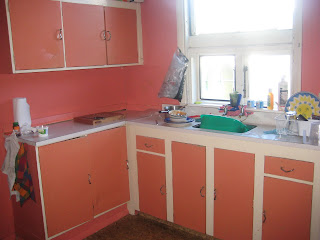
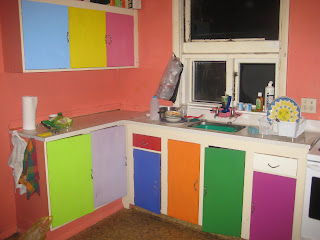
... we got distracted by paint and decided it would be a great idea to paint all of the cupboard doors in the kitchen a different colour using sample pots. Here's the before and after shots...
Before:
After:


I think it's very Balamory. I particularly like the purply one on the far right. But I think it clashes with the pink walls. With any luck we'll only have to live with this kitchen for a couple of years anyway...

Wednesday, 23 June 2010

A few cosmetic improvements

A new Coat Rack:


We solved the coats on the bed problem finally with our driftwood-random coat rack. Hooks include drawer knobs, bits of driftwood, old hooks from the salvage yard and some new hooks too. The coat rack itself is made of a bit of driftwood picked up at Lyall Bay. The biggest challenge was screwing it into the wall: we had to make recessed holes as the wood is wider than our screws are long.
But doesn't it look cool!


And in my other piece of cosmetic mastery, I started cleaning a mark off the yellow "stained glass" window half way down the hall and discovered it wasn't stained yellow glass after all. Well, it was stained - stained with 120 years of cigarette smoke and grime.

Here's what it looked like to start with. The paler panels are where I was cleaning a stain off and discovered it was a bit more stained than I'd originally thought...


And here's the before and after shots....


That's about 4 hours worth of scrubbing to get it back to its original state... but I think it looks great.
Next up: Steve's home made double glazing. Watch this space.

Tuesday, 1 June 2010

Aargh! a leaking roof

No sooner had we got the insulation in than it started chucking it down. It rained all week and on Saturday was pretty torrential. That was when we noticed water dripping down the walls in a couple of places....
So back into the loft I went with a raging hangover after a rather big night out with work the night before, to discover about 5 different leaks! Needless to say our lovely new pink batts was soaking in places, and all Steve could think about was how we would dry it out again!

Our immediate measure is a series of buckets under the drips in the loft but the short term plan is we think we'll get someone in to try to patch the holes - neither of us are game enough to climb on the roof as the back of the house is a two storey drop. In some ways it's really good that we had such a big storm within a month of moving in as it's highlighted a problem to be solved urgently.

It's not looking great though - everyone I've spoken to (well, two people) says we'll have to replace the whole roof (corrugated steel - about $10,000). That could put paid to the new bathroom this year :-(

On the plus side Steve fixed the gushing downpipe under the shower in about 30 seconds. Good job we didn't call a plumber!

Thursday, 27 May 2010

Priority no. 1: loft insulation

After the last frigid winter in our rental property loft insulation was very high on our list of priorities.  The NZ Government has a grant scheme for insulation - up to $1300 against the cost of installation - but you have to use an approved installation company, so once you factor in the labour cost it's not worth using them - and the companies have long waiting periods - 15 weeks - which would take us beyond the end of winter!  So in the end we decided to do it ourselves - how hard could it be?

We settled on R4.0 which is 190mm thick - most people go for 3.6 but we want a really warm house!  You get 6.3m2 per bale so for our 130m2 house (it's a bungalow) we calculated we needed 21 bales - but deliberately underestimated as we didn't want to buy too much.  So we bought 17 bales at a total cost of just over $1700.

A note on types of insulation: the most commonly used brand is Pink Batts which is made of recycled glass.  It is an irritant which is not nice to install.  The ecological and less irritating option is wool - but at double the cost we decided we didn't have cash to spare.  Anyway, Steve came prepared for action in a disposable boiler suit (the same kind kiwis wear when supporting the All Whites football team!)


Installing insulation is not the most glamorous job and we didn't get much take up of our offer of pizza in return for hard graft - though Jill came along to muck in...


Some tips for insulating your loft: don't open the bales until you've got them into the roof space as they are compressed so they massively expand when you slit them.  A kneeling board is pretty much essential if you don't want bruises all down your legs from shimmying along joists.  Definitely long sleeves, gloves and mask required.  You'll need a knife to cut the insulation to size (it fits between average joist widths but you need to cut it in places) Be prepared to get very hot and very dirty.  Start at the edges and work back towards the loft entrance - and don't do what I did and insulate over the porch - here I am removing the insulation from over the porch area.


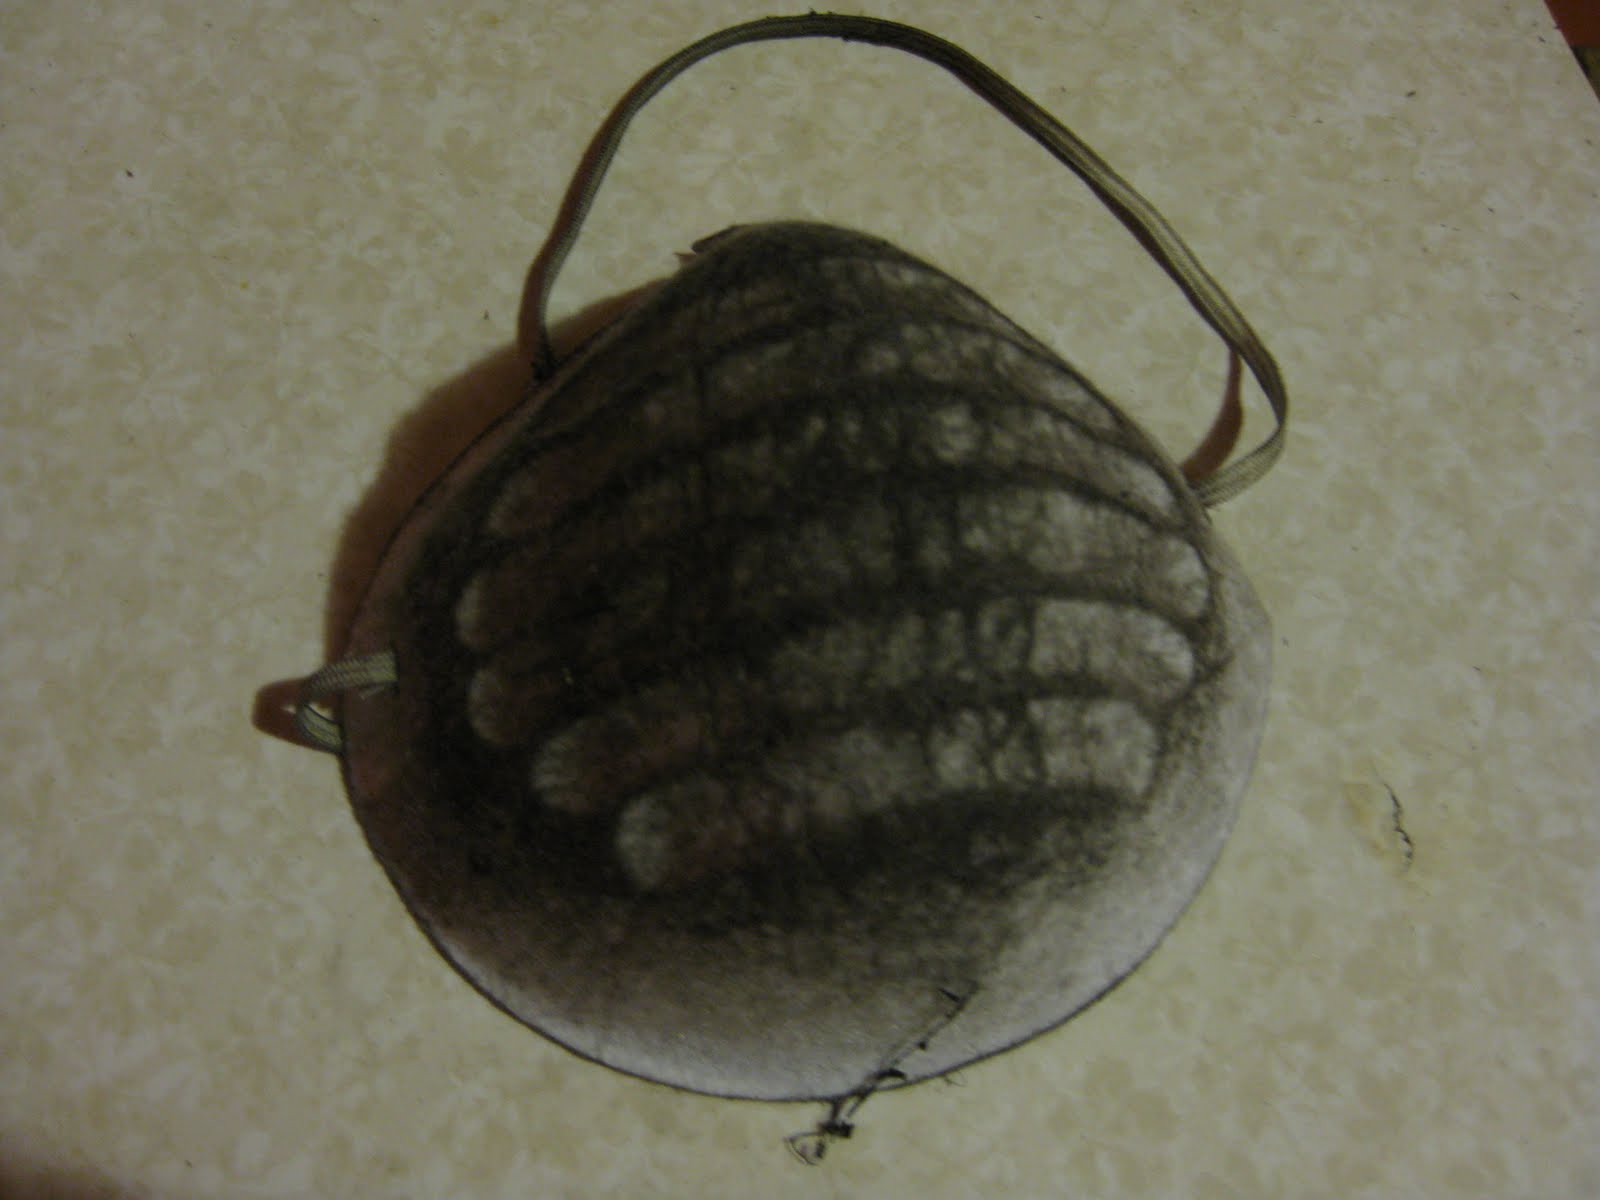
It took us about 7 hours in total, this is what the mask - and I - looked like at the end ...
Hard work, I have bruises in very strange places and a head full of cuts from
bashing my head on the beams.


The half finished product:

And the finished product:

In the end we were one bale short, which we thought was pretty good judgement, so the total cost was around $1850. 

At the same time Steve did a sterling job cleaning our very slippery stairs - they don't get any sun in winter so there's moss growing on them.

Next job: fix the ('leaking' is an understatement - more like 'gushing') pipe under the shower...


Sunday, 9 May 2010

11 Howard Street's first bit of TLC in 20 years


Our first week in the house and this is what we accomplished.

I replaced the washer in a leaky bathroom tap and discovered the washer wasn't really the problem, it was a big old crack at the bottom. So new taps needed.


After much chiseling and planing, we managed to get the basement door to close and get a lock on it, so now people can't just wander into our basement (they'll just have to kick the door down).


The bathroom is the worst room in the house, so to improve it slightly until we get enough cash together to do it, we put a shelf and mirror up. 


Slightly scarier, we had to cover the holes in the shower lining with the thick plastic that our bed came in. 


We also hired a van (an automatic - rubbish on fuel economy but great for 6 point turns outside our house) and picked up the two tables we purchased last weekend. Firstly, a kitchen table,


And secondly, an extender table that had had a little accident and didn't have any legs, which a furniture shop was selling for 10 pounds! One for the future. 


We can't take credit for this last piece of work, removing the kitchen walls of 20 years of unventilated kitchen fumes, a nice lady called Cath came and did it for us. She did a great job.