Saturday 20 August 2016

Goodbye to our tradespeople

I can honestly say I had a great time painting the outside of the house last Sunday. Early start, a couple of half-hour breaks, finally finished just before darkness fell at 6ish. Step back, admire the effect, exhausted but feeling very impressed with your work.

Of course, I had taken the glory job. It was only made possible by Jo taking the hit, spending endless hours (and probably more time than it took to do the top coats) in the tedious and distinctly unglamorous tasks of preparation - filling, sanding, priming, etc. Jo, we (I) salute you.

Jo actually getting to paint the outside rather than repairing it


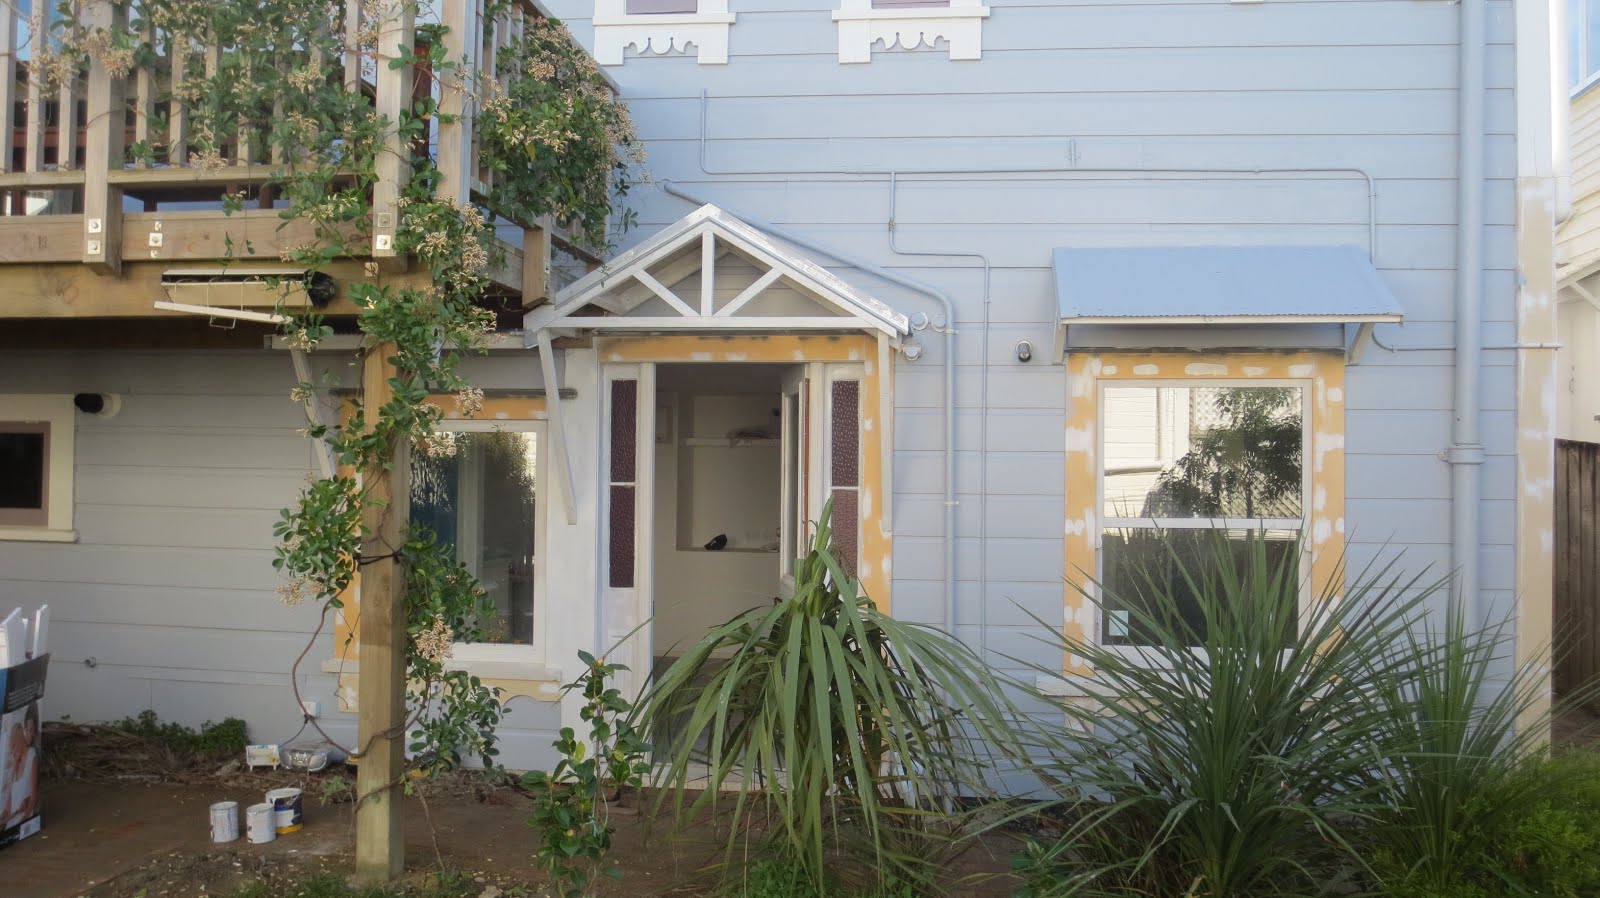
The builders took the existing windows and and refurbished them to meet regulations and to double glaze them. Some of the windows had sills which looked a bit worse for wear - they needed preparing and painting.

The existing sill of what is now the apartment 
bedroom window. 
A few layers of thick exterior paint needed to be
scraped off the sills
Ready for priming and painting


Inside the apartment, Jo continued to work on the inside of the front door. White paint on woodwork always seems to need quite a few coats, maybe someone can tell us if we're doing it right!? I seem to remember the hallway upstairs needed 3 coats before it looked like white, and this door has also needed the same. 

Note the switchboard on the left hiding circuits for Africa. We'd be very surprised if the fuses ever trip in this apartment.  

We have reached the major milestone of the tradespeople finishing what they need to do. It does feel like a fairly large psychological step to make. When you're in the middle of it, and there's all these different people involved, and the invoices keep rolling in - the finish line feels a long way away. Well, now everyone's gone and there's only one invoice left to come in. 

Funnily enough, last night Jo bumped into the builder Nathan in the Southern Cross bar down the road from the house. So even when they're not in our house they're nearby. That's comforting (or is it?)

Carpets have been fitted and in the distance you can see the tiled splashback in the kitchen. 


Bedroom carpet fitted and interior sash windows painted and looking beautiful. A view of the garden through the window. 
View through to the bedroom from the living area. Note the different shade of white used for the door frames and skirting


Look around most rental apartments and you'll see the same white ceiling, white walls, white doors, white windows, white skirtings. Understandable because it's much easier to paint. You can see from our painting that we didn't exactly make it easy for ourselves. We've used very different colours on the different surfaces. Even where it looks white with white, its actually different shades of white. We did have a financial reason - we had a large amount of paint left over from painting upstairs so it didn't make sense to buy a whole lot of new paint. But, even if we hadn't used the paint from upstairs, I'm sure we still would have wanted to paint it in this manner. It's just the type of people we are. And clearly, the features such as the brick chimney and the nice windows deserve to be picked out in a colour. (We'd better check with Jo on that one though, she did all the edging not me!)


Shelves in the airing cupboard.
"But what's left then?" I hear you cry! The main things are:

  • a bit of painting of frames and little touchups
  • I think the plan is to paint the front door 
  • fitting handles to drawers and cupboards in the kitchen, and to a few windows
  • installing blinds,
  • working on the brick path to reinstate it where it was taken up and extend it to the apartment front door. 
  • buying a fridge and washer/dryer. 
  • And of course there is the council inspection! 
We will keep you posted.

Monday 8 August 2016

Getting creative with paints and pipes

The last blog post was a bit of a digression into the wonderful world of flatpack furniture. In this post we return to the wonderful world of our ground floor apartment. Before we check out how the interior is going, a quick look at the exterior

As you know, council regulations stipulate specially-lined awnings over the windows to protect the upstairs from any fire that breaks out downstairs. This had to include an awning over the front door. After a bit of a discussion with the builders and architect, we all agreed that we could tweak the awning over the door to make it more 'porch' style. It does the fire awning job and helps to frame up the nice panelled door.

So to the inside. We had got to the stage where things had been plastered, so it was time to paint! We have some lovely friends who came over to help us - thanks Aideen, Gary, Rob and Roger.

Gary and Aideen capture the true spirit of painting. 
Steve and Rob working hard
Jo the only person to be photographed actually painting

In the living area:

The kitchen tiled and painted...
...then with the celebrated furniture from the previous post in position. It looks kind of pink in this photo, but it isn't.
The brick chimney feature looking resplendent in Summer Horizon blue.
The TV nook is still the builders' shelf, but a painted builders' shelf at least. The heatpump was supposed to be mounted on the wall next to the front door with the external unit sitting on the ground at the back of the house. But the pipe to the outside unit would have meant a large hole in the external frame of a nice window. So Don and Jez from Arctic Spark, the heatpump installers, installed the heatpump on the back wall, took the pipe out the back of the apartment, routed it up and along to the external unit now sitting down the right hand alley of the house. To get the fall they needed for the moisture created by the heatpump, they took a pipe down to the floor drain at the bottom left hand corner of the back of the house. It took a bit of thinking to get there and it was quite lucky this was a Saturday so we were there to tell them what we did and didn't like. The actual result was much preferred to our original plan. 


The heatpump installers ran the pipe to the external unit along the back of the apartment and out to the outside wall of the house. Right hand wall in this photo is the outside of the left hand wall in the apartment. Notice the pipe for draining the moisture on the left hand wall here running down to the drain in the left hand corner of the back of the house. There was a flight of stairs in the basement which in times gone by was connected to the upstairs by a big hole in the floor - this hole had been boarded up when we bought the house. The builders shifted the stairs so we can we can still get up on to the rock and the underside of the house.

Tiled entrance for those wet shoes and brollies

In the bedroom:


Bedroom wall, where the head of the bed will go, now painted and rocking light and power

In the bathroom:

Jo laid out the wire for the underfloor heating in the bathroom
Bathroom painted, tiled and now the frosted glass is in!

Light and power:

You will have noticed the lights and plug sockets in the photos above, and the electrician has been hard at work wiring everything up to a new power board located on the right hand side of the house. It has two electrical meters, one for the house and one for the apartment. We have to make a special mention to Tony the electrician here. As you will have read above, we had to relocate the heatpump and that meant it wasn't going to be where Tony had planned a power connection for it. However, the way Tony had wired it meant that there was a complete circuit for it in it's new location, rather than having to add it to, and maxing out, an existing circuit. Don the heatpump installer was very impressed by what Tony had done - and it is not often that tradies complement other tradies' work, so when they do you know it's good!